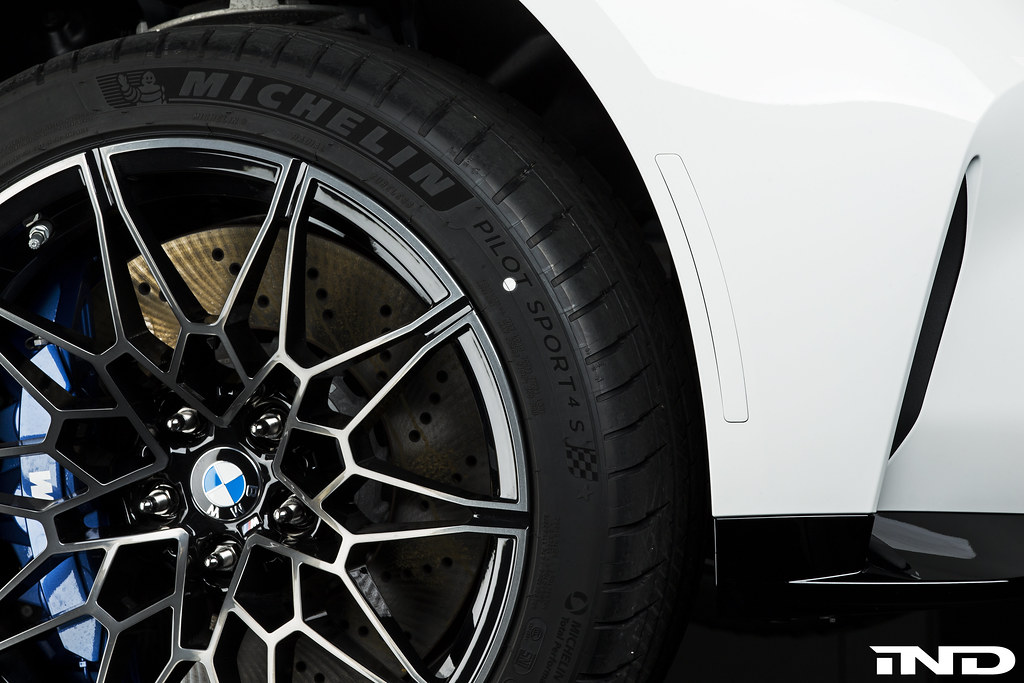
Painted reflectors are always among the first additions made by any owner of a modern BMW. Thanks to the U.S. DOT, the unsightly orange reflectors installed in cars bound for North America continue to break the smooth lines of BMW bumpers.
While it appears BMW is trying to mitigate how much reflectors stick out like a sore thumb by now slightly tinting them on the G8x chassis, IND continues to provide painted reflectors as a cost effective solution relative to the purchase of a OEM European bumper. We start the process using the OE BMW reflectors for a factory fit, and the same paint process we would use to spray an entire car. Each reflector is sanded, prepped for paint, primed, then painted. We ensure that all lettering on the face of the reflector is completely removed providing the same finish as your factory bumper.
Many enthusiasts enjoy installing their own painted reflectors, so we’ve created this installation DIY to help.
Tools needed:
- Bondo spreader
- Adhesive remover or cleaning solvent
- Heat gun and painters tape (optional)
G8x M3 / M4 Painted Front Reflector Sets are now available FOR PRE-ORDER on our website.
Step 1:
First, we recommend removing the wheel as it provides more space to work, but you may find it easier to simply turn the steering wheel to full lock so wheel is facing inwards. This will allow you to see the back of the reflector exposed within BMW's front air curtain channel.

Step 2:
Next, if you are new to installing reflectors and using a heat gun, apply a layer of painters tape around the reflector. This will give you some extra protection to prevent any burning of your paint. Take the heat gun or hair dryer and fan over the reflector being careful not to get too close to the paint. This will help soften the adhesive on the OEM reflector.


Step 3:
Press on the lower portion of the reflector with your thumbs while using your fingers to pull the bumper towards you. Once the reflector separates from the body, place your bondo spreader between the reflector and bumper. Continue to work your way up, alternating between pressing with your thumbs and moving the spreader up until the reflector is free.


Step 4:
After the reflector is removed from the bumper cover take a cloth and some adhesive remover, or using your finger, remove any excess adhesive.

Step 5:
Now that the surface is clean, remove your painters tape and the adhesive cover on the painted reflector and push reflector in place. Make sure to apply even pressure around all edges.


Step 6:
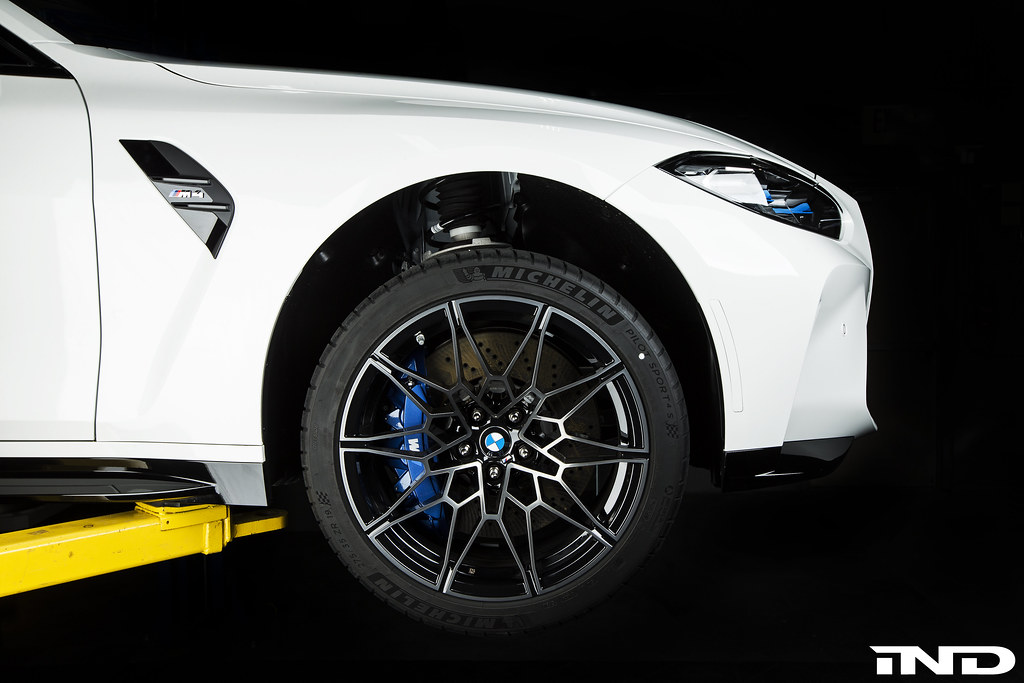
With the reflector installed, reinstall the wheel if you removed it for installation.
Finished!

