


Download PDF Install Guide HERE
Thank you for purchasing the Fall-Line Motorsports G8X M2 / M3 / M4 Oil Cooler Guard for your BMW. When BMW first fashioned the F8X’s oil cooler the bottom of the car, we cringed at the possible catastrophes that could result from even moderate impact. Fortunately, Fall-Line Motorsports made quick work of designing a solution. For the best real-world protection, each Fall-Line oil cooler guard is constructed from a thick stainless steel plate and fastens directly to existing frame members to help spread the impact load across strong structural components.
As an acknowledgement of BMW M’s aforementioned air flow engineering, special care was taken to ensure that the opening in the oil cooler guard matched the shape and size of the existing BMW oil cooler air outlet. This newest variant for G8X cars is easily the most comprehensive example to date— even the required drill bits are included to make every step of the installation straight-forward.
TOOLS REQUIRED:
- 3mm Allen
- 4mm Allen
- Socket Wrench
- 10mm Socket
- 13mm Socket
- 15mm Socket
- 16mm Socket
- 11/16” Socket
- 7/8” Open-End Wrench
- Drill
- Side Cutting Pliers
- Rotary Tool / Dremel
- Cutting Wheel / Grinder Accessories
- Reciprocating Saw

PACKING LIST / KIT CONTENTS
|
1 - Fall-Line Motorsports G8X Oil Cooler Guard 2 - Belly Pan Trimming Template 3 - Modified Oil Cooler Brackets 4 - Aluminum Support Bracket Drilling Template 5 - Parking Block Spacers 6 - 15mm Bolts 7 - 13mm Bolts 8 - Oil Cooler Guard Spacers (use with Part 5) 9 - Riv Nuts 10 - 4mm Allen (use with Part 4) |
11 - 3mm Allens 12 - Washers (use with Part 11) 13 - 13mm Serrated Bolts 14 - Metal Speed Nuts 15 - Large 17/32” Drill Bit 16 - Medium 5/16” Drill Bit 17 - Small 1/8” Drill Bit 18 - Riv Nut Installation Tool (use with Part 9) 19 - Socket Head Screws (use with Part 18) |
STEP 1
Safely raise the car onto an automotive lift to gain adequate access to the oil cooler guard area. Remove the eleven 10mm bolts securing the front parking block deflector / skid guard.


STEP 2
Remove the fourteen 10mm bolts that secure the center underpanel / belly pan.


STEP 3
Uninstall the left and right splash shields: remove six 10mm bolts from each shield (three are located in the lower section of the wheel well liner).


STEP 4
With all the plastic underpanels removed, you’ll now see two 16mm bolts at the front the metal undertray. Remove these and set aside.


STEP 5
Remove the rubber weather strip at the front of the factory oil cooler.


STEP 6
Using the included 5/16" bit (medium size), drill out the rivets securing the parking block at each end of the oil cooler.


STEP 7
We need to gain access to the aluminum support frame above the oil cooler. Remove the 10mm bolt that secures each oil cooler bracket and allow the OEM unit to hang freely. Remove the two brackets from the cooler.


STEP 8
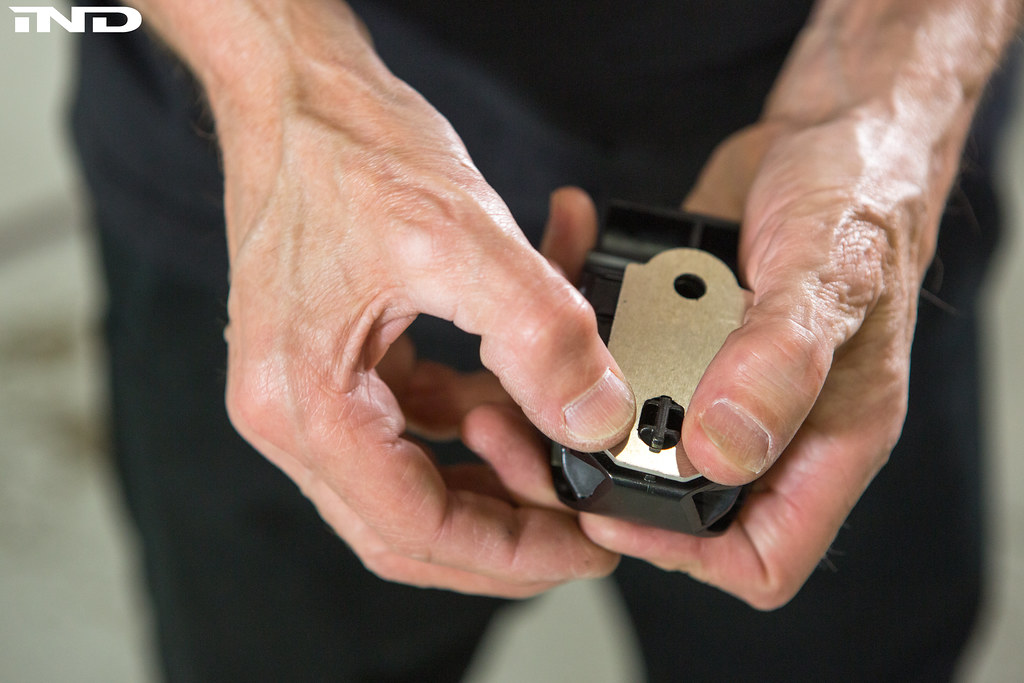
The FLM guard kit utilizes a slightly modified mounting solution for the oil cooler itself. With the included 17/32" bit (largest size), drill out the aluminium support frame rivet (A) and remove the rivet end. This location (A) will be one of two mounting locations for the FLM guard.


STEP 9
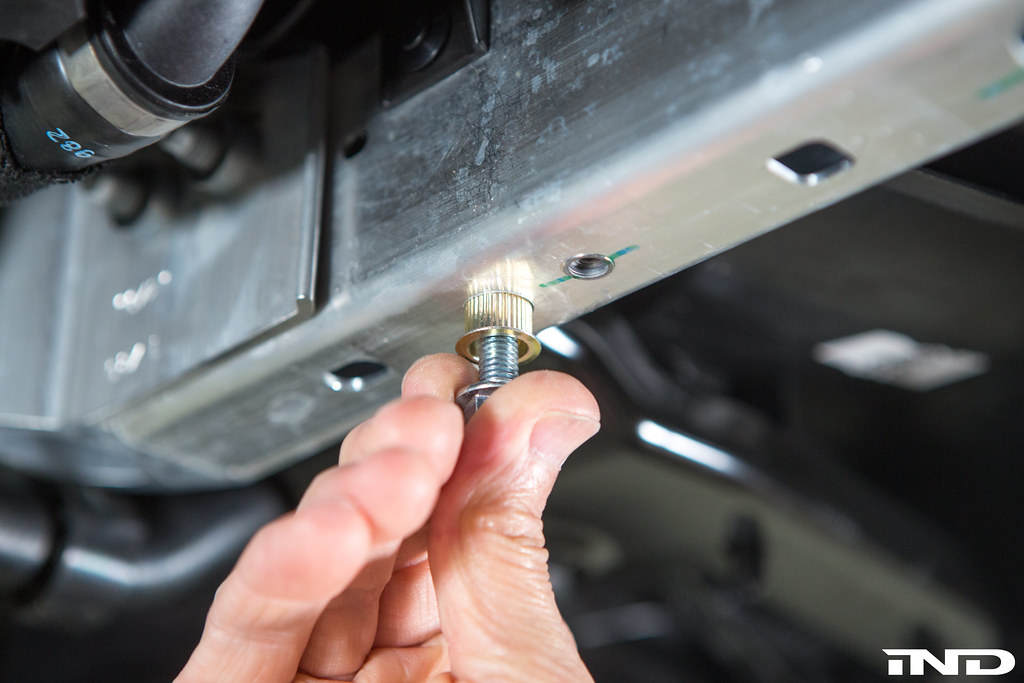
Test fit one of the included riv nuts into the now voided area (A). Should it not fit with some coercing (it should be a tight fit), carefully expand the hole (A) with the 17/32” bit.


STEP 10
The second mounting location for the FLM guard must be drilled into the aluminum support bracket. Affix the included metal drilling template onto the threaded bracket hole (B) with a 4mm Allen. Drill a pilot hole with the smallest bit (included). Repeat this step on the other support bracket.


STEP 11
Remove the template and use the supplied 17/32" bit to drill the second mounting hole (C) for the FLM guard. Install two riv nuts with a 7/8” wrench and 11/16” socket in each support frame location (A) and (C).


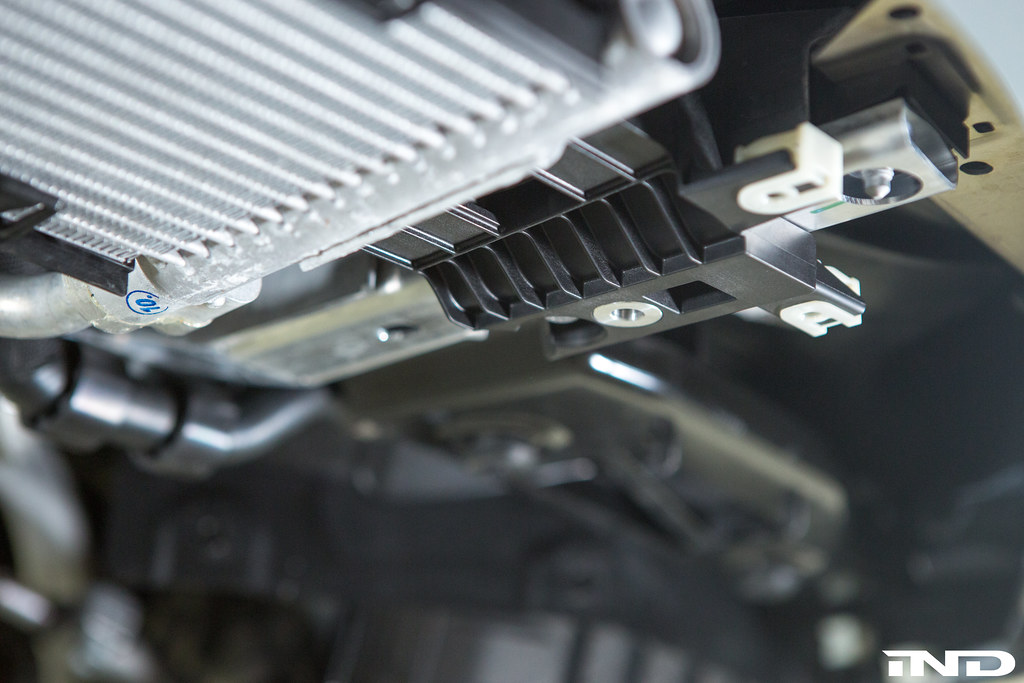
STEP 12
Two modified oil cooler brackets are included with the FLM unit. Clip these onto the factory cooler and affix the assembly onto the aluminum support bracket using the supplied 13mm gold guide bolt in location (D).


STEP 13
Install one 10mm bolt rearward of the guide bolt to affix each cooler bracket to its corresponding aluminum support frame. Remove each guide bolt.


STEP 14
Transfer three plastic speed nut clips from the OEM pan to the rectangular voids in Fall-Line oil cooler guard. Install four supplied metal speed nuts into the four front circular provisions on the FLM guard.


STEP 15
Install the FLM oil cooler guard. Insert its leading edge above the bumper cover lip and loosely fasten a 13mm bolt to each oil cooler bracket at location (D).


STEP 16
Secure the rear of the FLM guard to the factory metal undertray using the included spacers and 15mm bolts. Spot check the guard’s alignment and clearance with the reference photos below.


STEP 17
Secure the front of the FLM guard to the bumper panel using the four 3mm Allen screws. With all the fastening hardware in place, tighten the 3mm Allen screws and both sets of 13mm and 15mm bolts.


STEP 18
Install provided spacer to OEM parking block and affix with the serrated 13mm bolt. Repeat on the other parking block.


STEP 19
With the FLM oil cooler guard in place, reinstall both splash shields with the 10mm OEM hardware.


STEP 20
The factory plastic belly pan must be trimmed to clear the oil cooler guard in several places. First, use the supplied template to eliminate portion (E).


STEP 21
Secondly, use a cutting wheel along the raised bar between the two template outline end points to remove an additional ~1.5" of material from the belly pan - portion (F).


STEP 22
Lastly, trim and grind plastic the reinforcement veins on the factory pan.


STEP 23
Fit the modified belly pan and secure all fourteen 10mm OEM bolts.


STEP 24
To make fitting the parking block deflector easier, grind half circle clearance points at each corner (between reinforcement veins). Once it is seated in place, secure all eleven 10mm OEM bolts.


