Click to purchase: https://ind-distribution.com/collections/f92-m8/products/ind-f92-m8-painted-front-reflector-set-1
1. Turn the steering wheel towards the opposite corner to which you're working. This will allow for adequate access to the fender liner area.
2. Remove four 8mm screws around the front reflector area (one directly behind, one above, and two below) to gain access behind the fender liner.
3. Carefully apply heat to the front reflector area. This will loosen the OE adhesive that holds the reflector in place and make it easier to remove.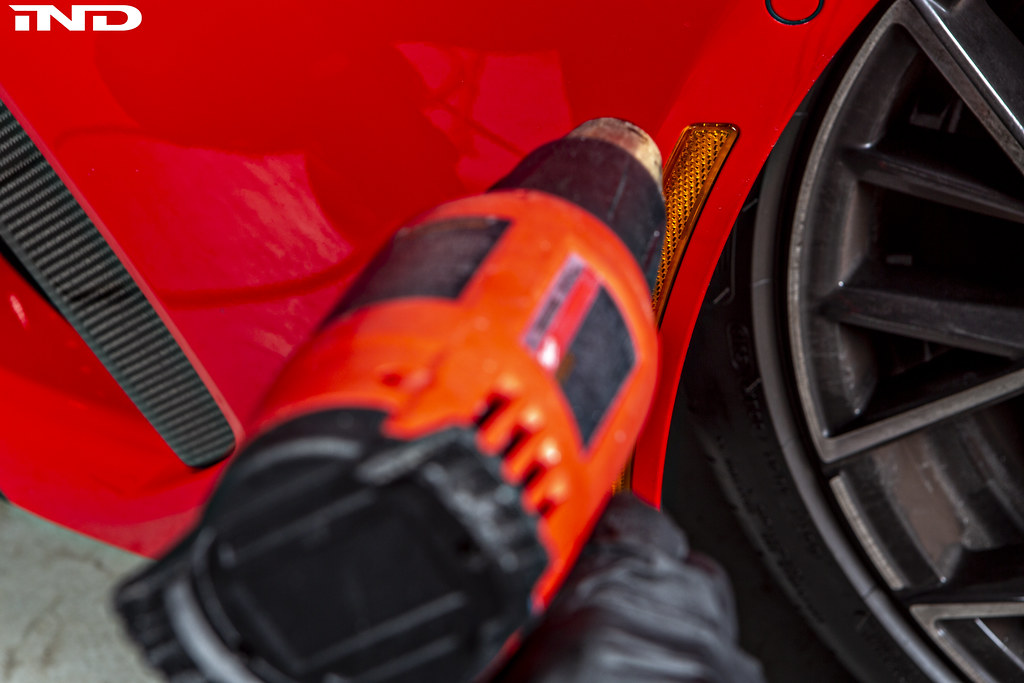
4. Remove the OE reflector. Starting at either end, push the reflector towards the car and "through" the bumper. Once started, you can use a bondo spreader to help loosen it from the bumper further.


5. Remove any excess OE adhesive on the inside of the bumper panel. This will ensure the IND painted replacement adheres to a clean, perfectly uniform surface.
6. Peel the tape on the IND painted reflector to expose the adhesive and carefully position it into place behind the bumper panel. Once satisfied with placement, press it into place with uniform pressure.

7. Finish by reinstalling the fender liner and associated hardware.


